Materials you will need:
3 different types of fabric of your choosing - For example, I used polar fleece, flannel and a linen-type material. For your main fabrics (which will be the front and back side of the blanket) you will need 1 yard of each. For the third fabric, you may wish to use either 1/4 yard or less or possibly a remnant. This fabric will be used to make the initial that will customize your blanket, so you will not need a lot of this fabric.
To start, I always pre-wash wash and dry my fabrics (and iron them if needed). This will prevent shrinking and disfiguring after you have made the blanket.
Cut your main fabrics into 33 inch squares. Not sure if you can tell from the picture, but I went with a navy blue with small yellow dotted flannel and a light grey polar fleece.

Now, you need to cut out your initial for the blanket. I found a font that I liked through Microsoft Word, blew it up as much as I could and printed it out. It still wasn't quite big enough for me, so I added a little width to it and then cut it out to use as my pattern. Now, my letter was a "k" so when I was tracing the pattern onto my fabric, I made sure to trace it backwards. I did this so that the pen I used would not show up on the right side of the letter when I flipped it over to sew it onto my blanket. You do not have to do it this way, but this is how I chose to do it.

Cut out your letter and...viola!

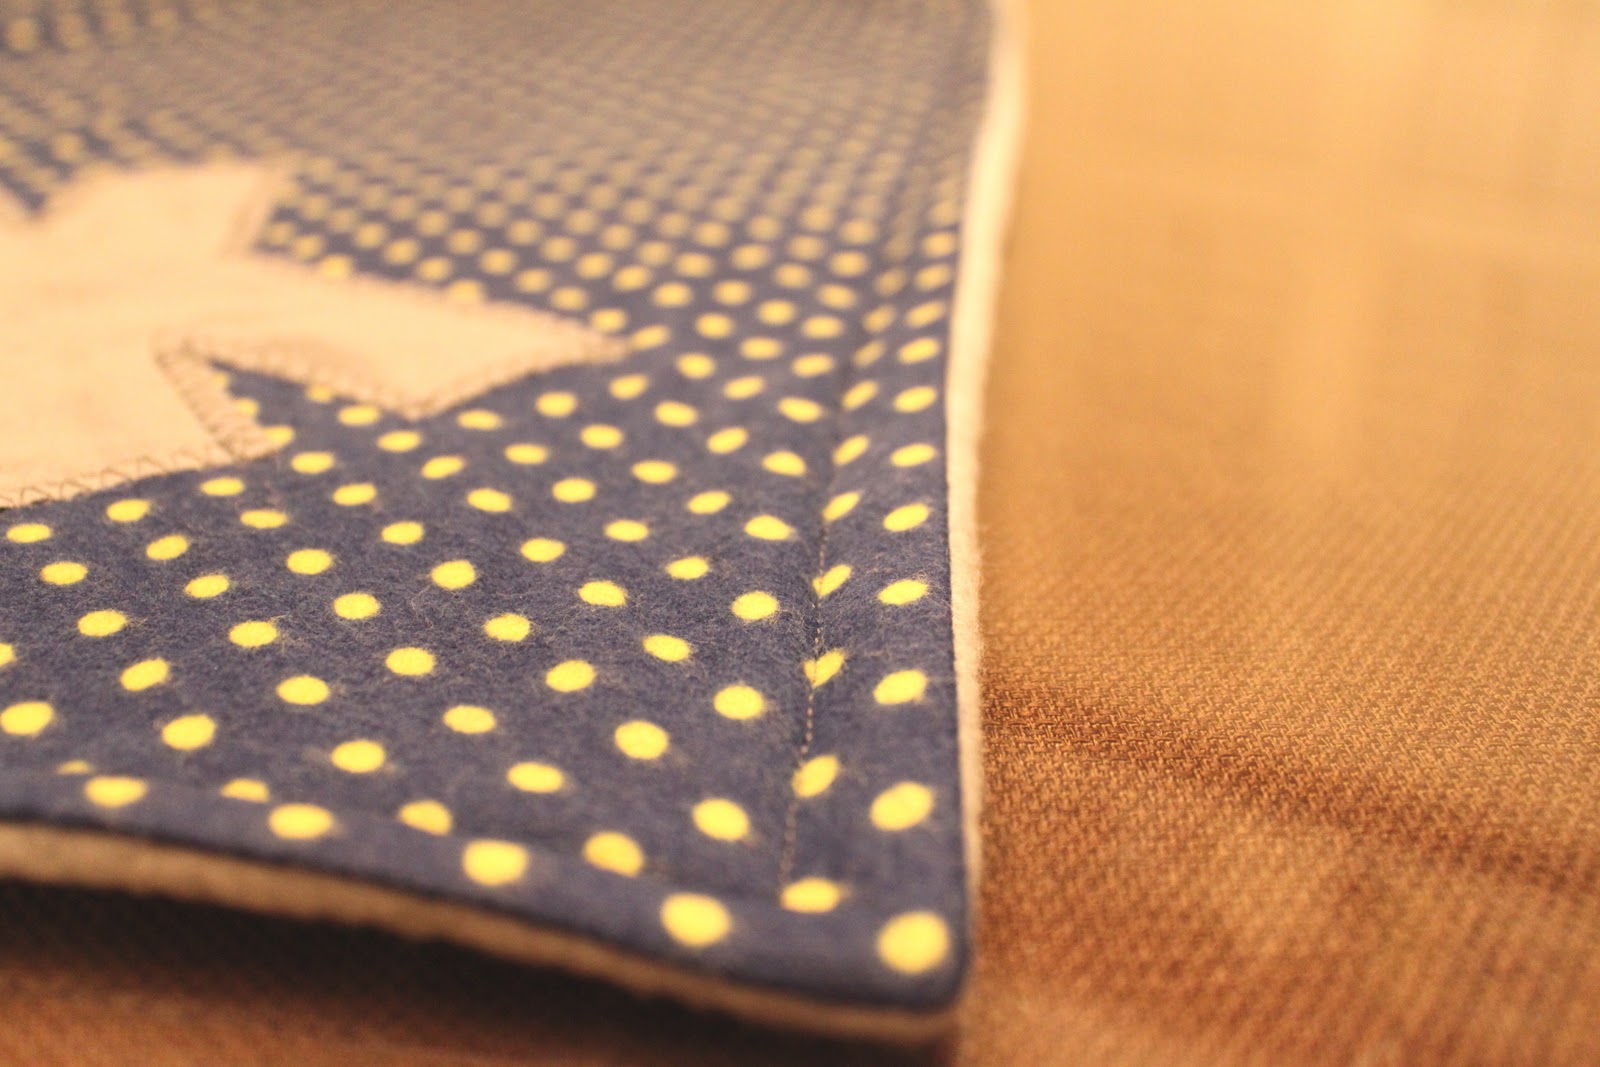
Now, you need to sew your letter onto one of your fabric squares - whichever one you have chosen to be the front side of your blanket. Pin the letter to the square to hold in it place. I decided to put my letter in the corner - something just a little bit different and unique.

Now, sew your letter onto the square. I chose to use a decorative stitch to do this. This makes the sewing job look nice as well as helps keep your letter from fraying around the edges, depending on the stitch you choose. If you do not have many stitch options on your machine, you can always use a zig zag stitch to do this.

The hardest part is done! Now, you will need to put your squares together, with right sides facing towards each other. Pin them together and sew around all of the edges, making sure to LEAVE A 4 TO 5 INCH OPENING so that you will be able to turn the blanket inside out.

You are now ready to turn your blanket inside out, but before you do, remember to cut your corners! This will make is easier to poke your corners out once the blanket is turned right side out.

Now, once you have your blanket turned right side out, poke out your corners either with your finger or the end of a pencil (eraser end, not lead end).

At this point, you may want to iron your blanket out, making sure to fold down the fabric at your opening and ironing it down as well. Pin the fabric at the opening closed.

Next, you are going to make a straight stitch around your entire blanket. This will add a bit more decoration to your blanket as well as close the opening.
And, your blanket is FINISHED! Step back and admire your work.

Who wouldn't LOVE this custom, adorable, HANDMADE blanket as their Christmas gift?? And they will never know how easy it was to make!

I hope the tutorial was easy to follow. Enjoy making all kinds of blankets now!!
Great job! What is the name of that decorative stitch?
ReplyDeleteThanks Meg! That is a double overlock stitch.
ReplyDelete